Lighted Garland For Christmas
(this post contains affiliate links)
I love a simple lighted garland for Christmas.
And I don’t know if it’s because I have such limited time or if I’m just into instant gratification
but I love a quick and easy Christmas DIY project!

Pin for later
All you need are a few supplies:
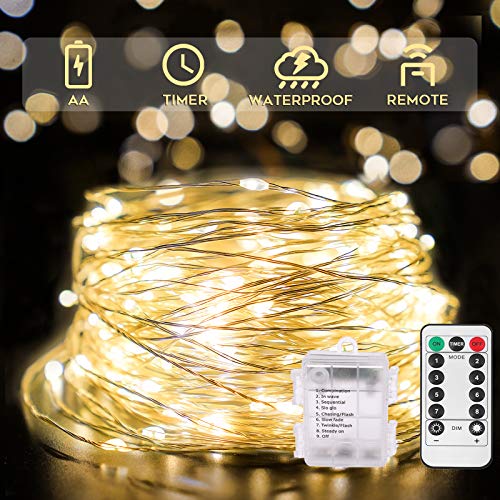
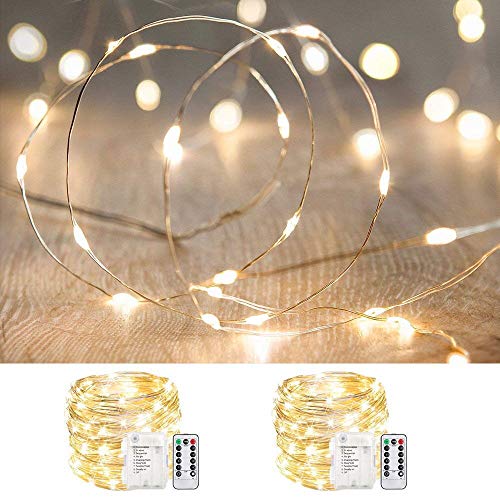
Fairy lights (get the ones with a remote — so convenient!)
29 lb vellum translucent paper
Star-shaped cookie cutter (if you’re not free-handing your stars)
Hole punch
Scissors, pencil, eraser
And you can make this simple Christmas garland in 5 quick steps:
1. Draw (or trace) shapes

I used a cookie cutter (or you could use a stencil) to trace out 7 stars onto the vellum paper. (Snowflakes or angels would also look good too!)

2. Cut out the stars

3. Erase the pencil lines

Carefully erase the pencil lines. Work from the inside toward the edges to keep from wrinkling the paper.
4. Punch a hole

Use a hole punch to make a hole in the top of each star.
5. String them up

Feed the end of a string of fairy lights through each star and twist the wire slightly to keep them in place.
And that’s it!
Pin for later

Pin for later

Pin for later
This simple lighted garland for Christmas gives a pretty ethereal look to my entry.
These would also be really pretty on a tree
or strung down the center of a table
or draped over gifts on a shelf
or hung in a window…
Let me know where you put yours!
GET THE LOOK


As an Amazon Associate and rewardStyle Affiliate, I may earn a small commission from qualifying purchases at no additional cost to you