How To Age An Urn With Dirt
(Disclosure: this post contains affiliate links)
I’ve never really been very fond of mud.
As a kid, I never played in the mud.
Never made mud pies.
Or splashed in mud puddles.
It was all just too messy for me.
Too…
Muddy.
But now
I’ve found a new appreciation for mud!
Wait til you see how I transformed this resin urn
Into a distressed and aged planter
With just some dirt from my backyard
And water from my hose!
So here’s how to age and distress something with mud:
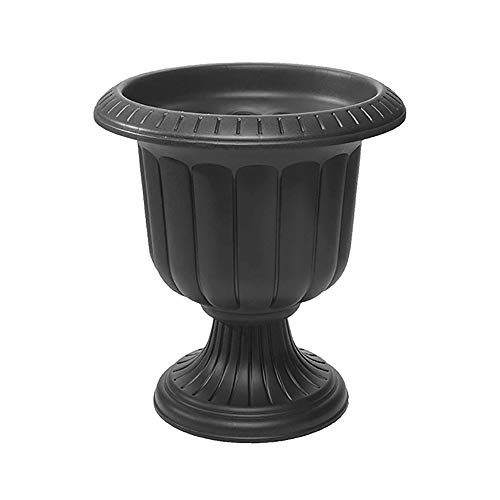
CHOOSE YOUR ITEM TO DISTRESS
This is what I started with

I have 2 resin urns that I sponge-painted about 20 years ago but now I was ready to give them a new look
Yours can be an urn or a pot or a vase. Anything that you can paint will work for this. You want to look for something with some detail and imperfections like pitting or surface cracks that the mud will enhance.
2. PAINT IT
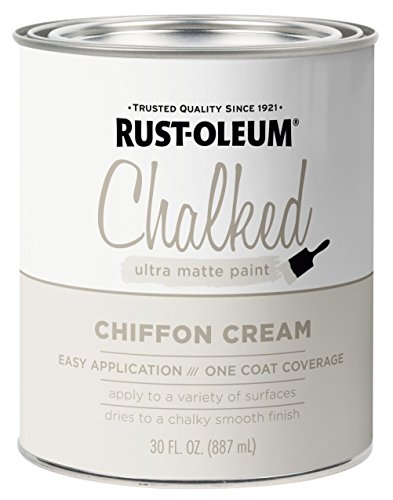
Paint your item with a couple of coats of flat paint

I used chalk paint. You could also use interior house paint or spray paint just as long as the finish is flat. Let it dry overnight.
3. LIGHTLY SAND THE PAINT
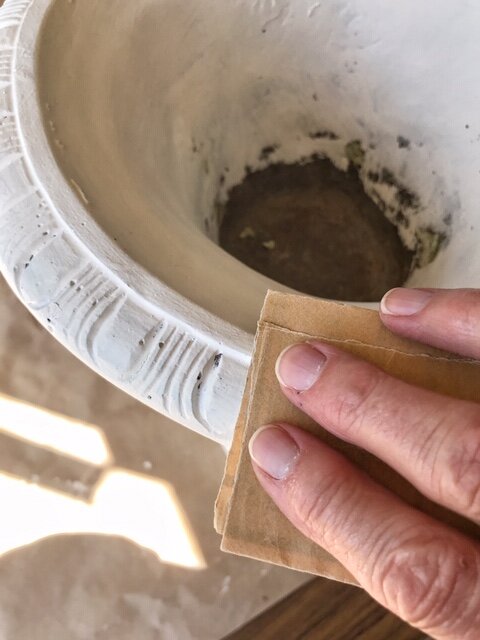
Lightly sand the paint just to get out any harsh brush strokes.
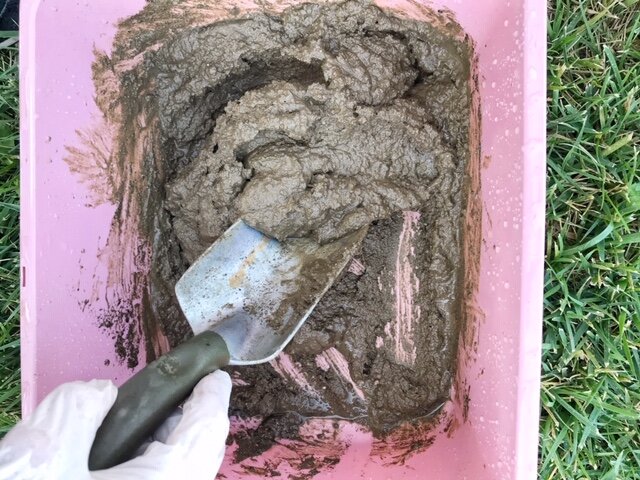
4. MAKE YOUR MUD

Fill a tub or bucket with about 5 or 6 cups of ordinary dirt from your yard. If you don’t have any dirt, you can use potting soil.

Mix in water until it’s about the consistency of brownie mix.
5. APPLY THE MUD
Now it’s time to schmear your pot with your mud. I wore gloves for this because…. well… it’s mud and you know how I feel about that! Rub it into all the nooks and crannies.
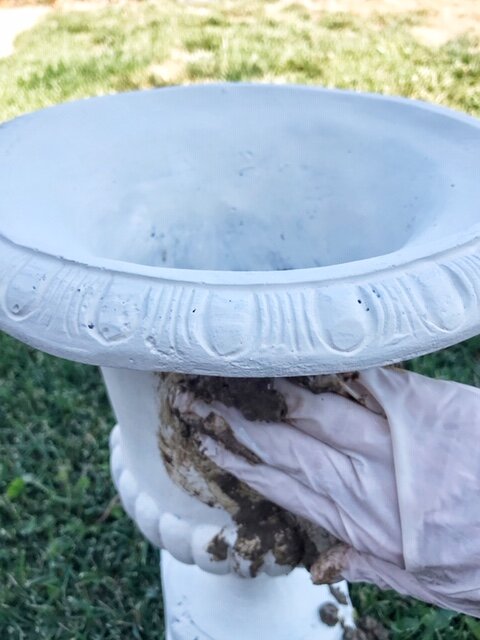
Let it dry in the sun or overnight.
6. RUB THE MUD OFF
Here’s where you’re going to need some patience. Use a dry towel for this and just start rubbing.

Just keep working at it until the surface mud is gone but it has left your pot stained. It’s okay to leave a little mud in the cracks and crevices but you want to get the majority of it out.
I used a soft toothbrush on some of my detail because I couldn’t get it out with the towel.

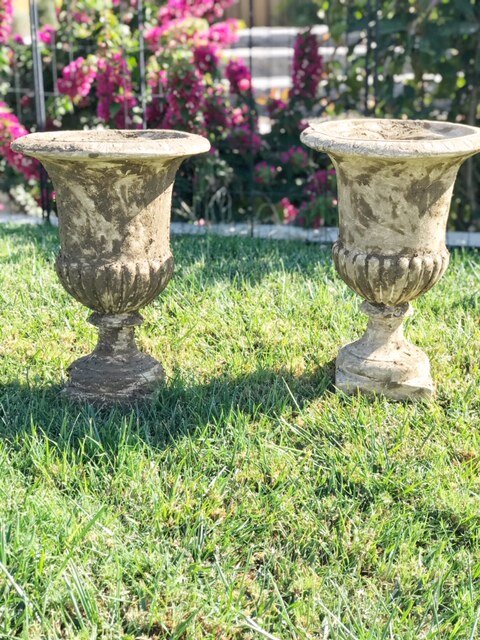
7. ENJOY!
Enjoy your new ‘old’ distressed, aged planter!
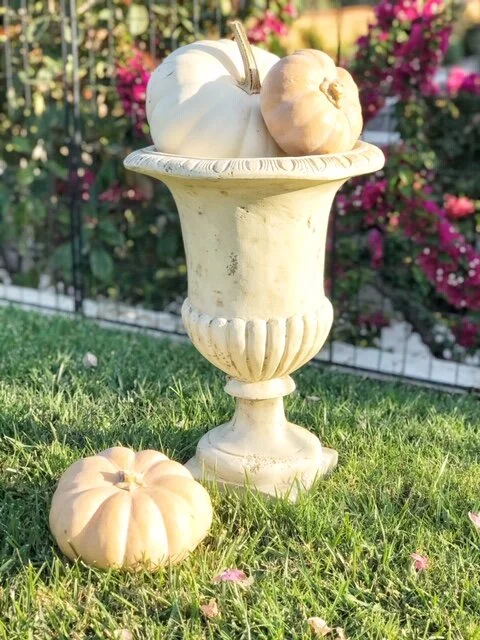

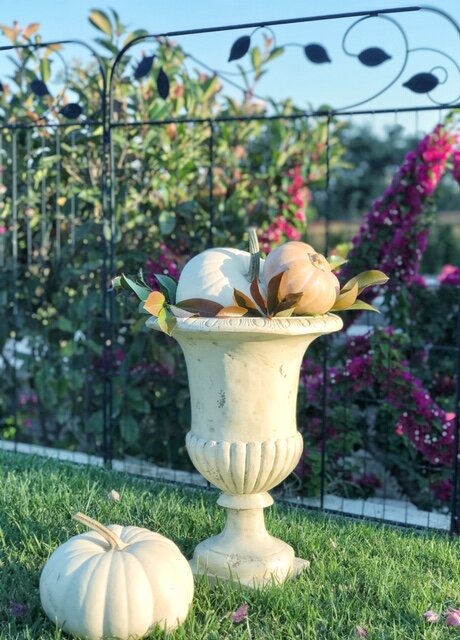
PS Although I photographed the finished urn outside, please note that this treatment will wash off if left out in the rain or other elements.
GET THE LOOK
Shop for exact and similar products


As an Amazon Associate, I earn a small fee for qualifying purchases at no additional cost to you